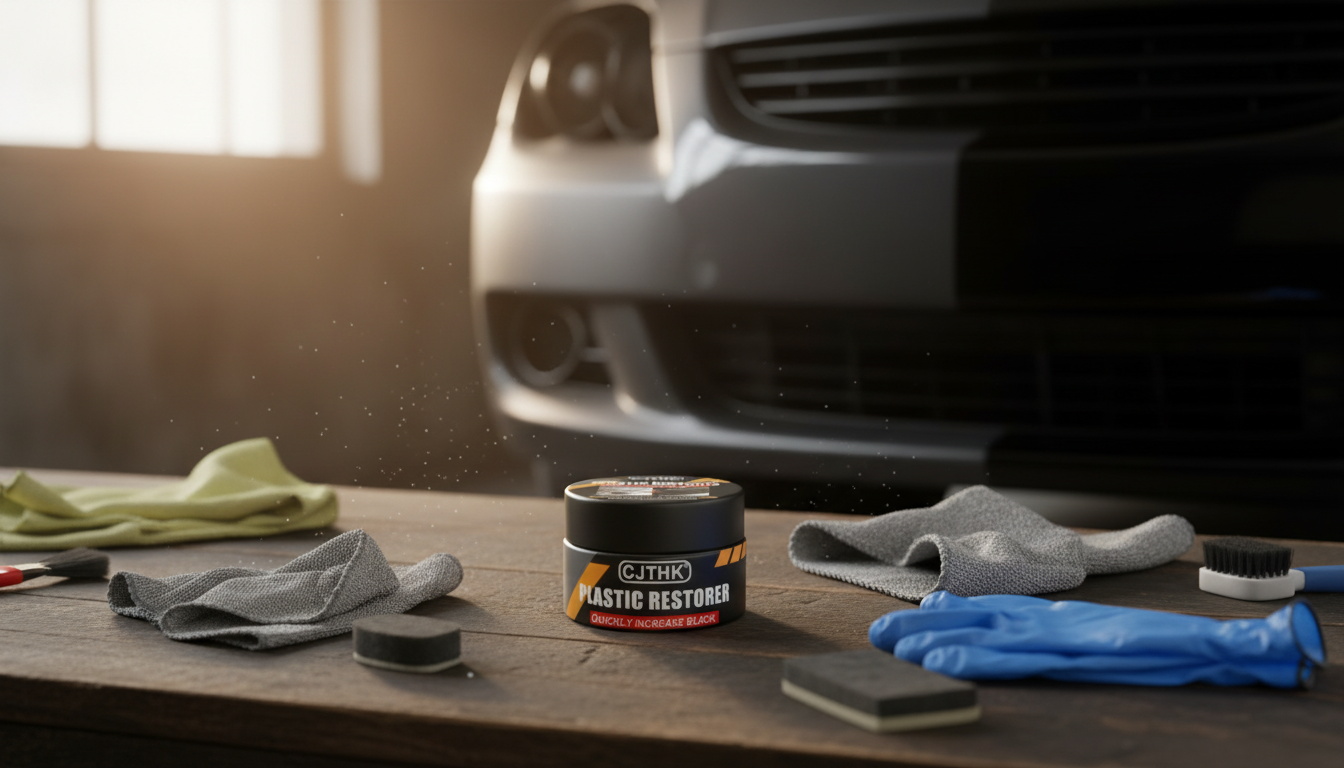
Sun, heat, road grime, and frequent touch points can fade exterior plastics and dull interior trim and leather-look surfaces. A restorer and gloss coating helps revive color depth, improve visual uniformity, and add a protective layer that makes routine cleaning easier when applied correctly and maintained with gentle washes.
If you’re refreshing a daily driver or cleaning up a weekend car, a “back to black” finish can sharpen the overall look by restoring contrast between trim, paint, wheels, and chrome—often without replacing parts or committing to permanent dyes.
Think of it as a visual reset plus a light shield: the darkening effect improves uniformity, while the coating helps slow down future fading and makes wash-day cleanup less stubborn.
Restorers and gloss coatings are most satisfying on plastics that have turned gray or patchy, and on interior trim that looks tired from handling. The key is using them where added gloss won’t create a safety issue or a distracting glare.
| Surface | Common issues | Prep needed | Result to expect |
|---|---|---|---|
| Exterior black plastic trim | Fading, chalking, light oxidation | Wash + dry; optional isopropyl wipe | Darker tone and more uniform gloss |
| Textured bumpers and cladding | Gray haze, uneven patches | Deep clean with detailing brush | Improved depth; may need 2 thin coats |
| Interior hard plastics | Dullness, fingerprints, minor scuffs | Gentle interior cleaner; dry fully | Richer look with easier wipe-downs |
| Leather-look / synthetic trim | Dry look, light wear | Clean with pH-balanced cleaner | Smoother appearance; avoid over-application |
| Natural leather seating (if compatible) | Dryness, minor dulling | Vacuum + leather cleaner; test spot | Enhanced appearance; keep layers thin |
Most “uneven” results trace back to residue left behind in the texture. Give extra attention to door-handle cups, lower rocker trim, and any area that has seen wax overspray or automatic carwash chemicals.
Thin coats beat thick coats. If the surface looks wet or “swimming,” it’s usually too much product—level it immediately with a clean microfiber so the finish dries consistent instead of streaky.
For general car-care best practices that help coatings and dressings perform better, see guidance from Consumer Reports and carwash maintenance tips from the International Carwash Association.
If you’re unsure about cleaners or safe handling around painted panels and plastics, consult established care resources such as 3M’s automotive care and cleaning materials for practical, surface-focused recommendations.
Longevity depends on UV exposure, wash chemicals, and how well the surface was cleaned and dried before application. A practical range is a few weeks to a few months, with thin, well-prepped layers usually lasting longer than thick coats.
Yes, if applied very thin and then leveled/buffed so no excess remains on the surface. Over-application is what typically causes unwanted shine, a tacky feel, and dust attraction—especially on high-touch cabin areas.
Wipe and level the area with a clean microfiber, let it set, then reapply a smaller amount if needed. For best results, work in shade on cool panels and make sure the trim was thoroughly cleaned first to remove embedded wax or silicone residue.


Leave a comment